
HIGH FREQUENCY

SUPPLIES NEEDED:
3 tubes of choice – I’m using three vector tubes by YONID – You’re also welcome to use tubes of your choice.
Plug ins – Vanderlee Harmonix, Penta Color Dot
MASK by Weescotslass
Brushes by Margurno – Brush Set 5 which you can download HERE
Font of choice or Impact
Jasc Animation Shop
1. Open transparent layer – 675 x 500 – Flood fill white and merge flatten to form background.
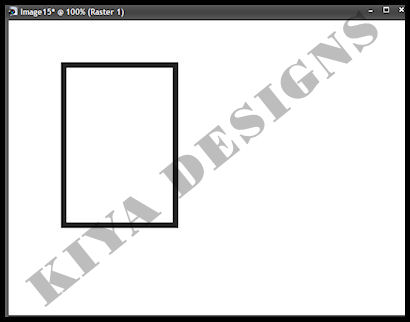
2. Foreground set to black, background on null – go to your preset tools – rectangle – width 10 and draw out a medium-sized rectangle and convert to raster later. Like so:
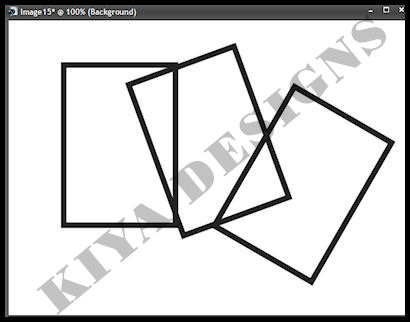
3. Duplicate this twice to have a total of three rectangles.
4. Go to Image, Rotate, Free Rotate and set to 30 degrees right and then for the next frame, set to 20 degrees left.
5. Arrange them like so:
6. Close out white bkg and go to Layers, Merge, Merge Visible.
7. Using your magic wand, click within each of the rectangles, holding down the shift key. Selections, Modify, Expand by 5.
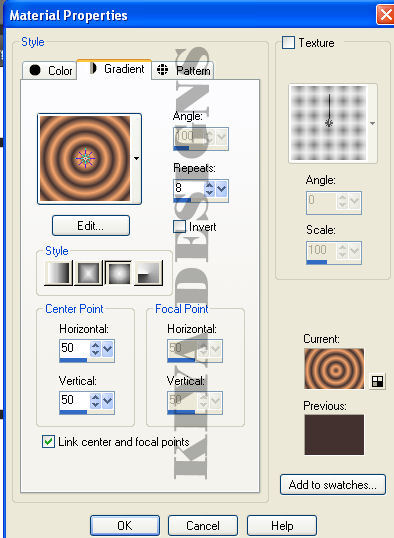
8. Create a new layer, and choosing two colors from your tube – set foreground to dark color from tube and light color in background. Go to Gradient – foreground/background – floodfill new layer with this hue, on these settings:
9. Move layer beneath the black frames.
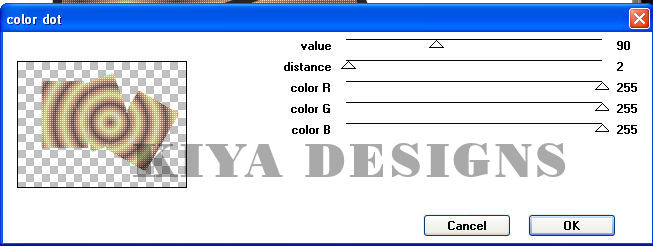
10. Go to Effects, Plugins, Penta-Color Dot on these settings:
11. Select the ‘first frame’ – selections, modify, expand by 5, copy and paste one tube. Resize if needed. Selections, invert, delete. Deselect and move tube beneath black frame.
12. Repeat this process for the next two frames (for the middle frame, make sure you select the three ‘holes’), copy and paste your tubes and move beneath black frame.
13. Close out white bkg, black frame and floodfilled layer. Merge tubes together. Apply light drop shadow (2,2,50,5).
14. Go back to your black frames, magic wand, select inside each frame and expand by 5. Keep selected until ready.
15. Create a new transparent layer above your floodfilled layer. Duplicate this twice for a total of three ‘blank’ layers. Close out the top two, and on your original layer (making sure your foreground color is set to black), go to Effects, Plugins, Vanderlee- Harmonix on these settings:
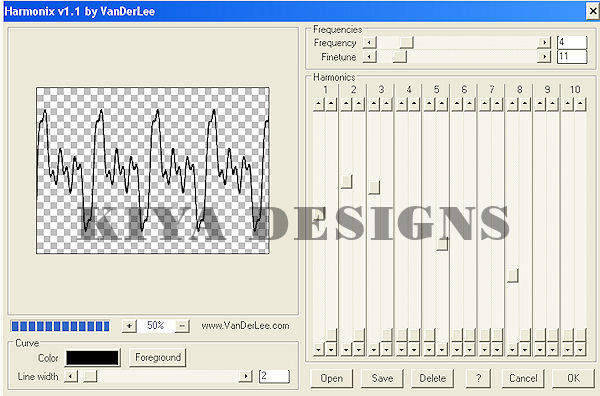
16. Repeat this process for the next two layers, moving your frequency slider higher each time. Now you can deselect!
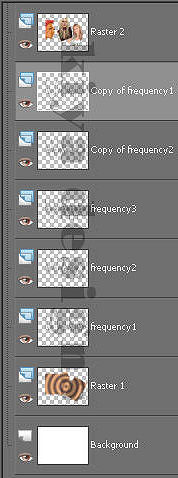
17. Rename these layers as ‘Frequency 1, 2 and 3’. Duplicate ‘Frequency 1 and 2’ and then arrange them like so:
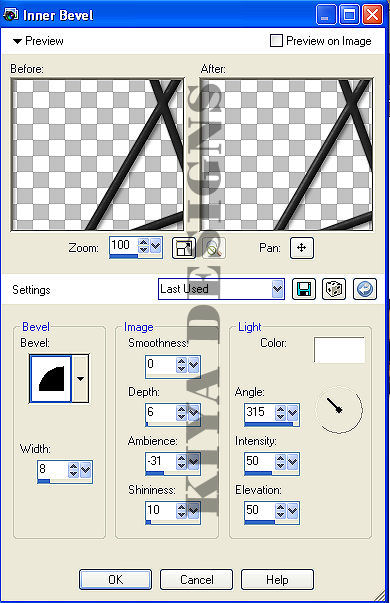
18. Back to your black frame, go to Effects, Inner Bevel on these settings:
19. Apply drop shadow (2,2,50,5)
20. Choose a light color from your tube. Create new layer above your white background. Flood fill with this light color and apply the mask. Delete, ungroup and move towards the left side of your tag. Duplicate and mirror. Merge both masks layers.
21. Now, we’re going to have a little fun with our fonts.
22. I’m using the font ‘IMPACT’- on these settings:

Your background color should be a light shade from your tag and the foreground color should be black.
23. Write out the words ‘HIGH FREQUENCY’, making sure the letters are arranged unevenly. Remember your setting must be on FLOATING for this to work out.
24. Once satisfied with how it looks, use your magic wand and select inside each letter. Create new raster layer and floodfill with black (might have to do this for each letter). Once done, de-select.
25. Now apply the same mask you used for the bkg of your tag. Delete, ungroup. Duplicate the mask layer and merge down. Looks cool, eh? Duplicate the mask layer again, but this time, move this above the phrase so it looks like a fading brush was applied. Move this layer beneath the words layer.
26. Apply light drop shadow to your word phrase (2,2, 50, 5).
27. If you’ve uploaded your brushes already, you can now use them – foreground color on black, stamp them above the masked layer in whatever position you like or you can use mine for reference.
28. Once satisfied, add your name (still used Impact), copyright license and information.
29. And now to animate!
30. Go back to your ‘frequency’ layers and making sure the top four layers are closed, copy merged and paste as new animation in AS.
31. Back to PSP, close out 1st layer, open up the next, copy merged and paste after current frame in AS.
32. Repeat this process for the remaining three frames, until you have a total of five frames in AS.
33. Edit, select all. View animation and you’re all set!
34. Lots of steps, but I hope it was fun to make all the same. ^_^
Please no hotlinking the images! Neither can you use the tags created for your personal use or on blogs or websites without written permission. This tutorial is registered with TWI.
© KiyaSama - all rights preserved. Tutorial Written 6th April, 2009.
Tutorials Home
|
|