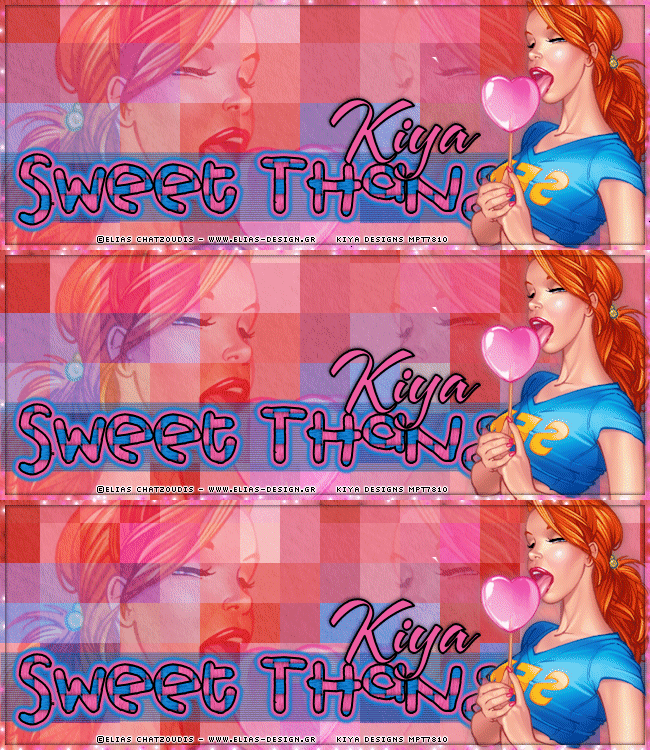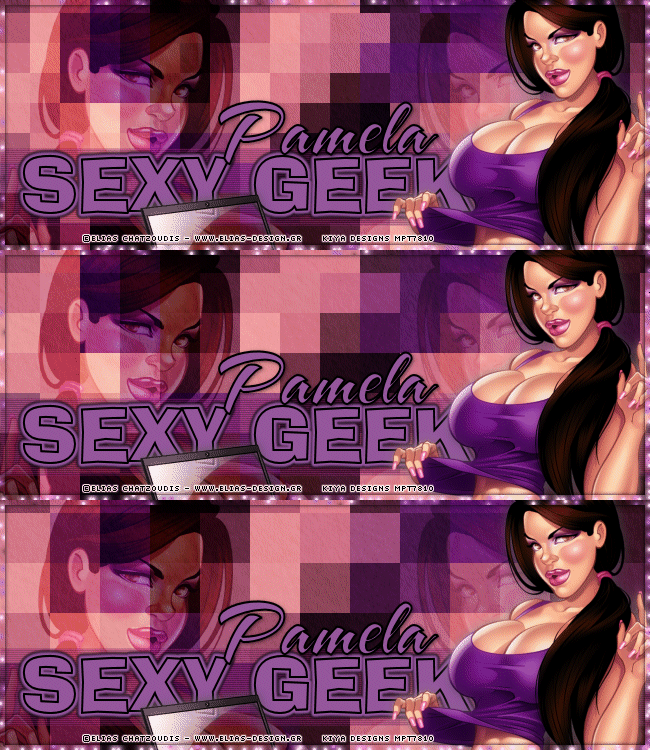
SWEET THANG

SUPPLIES NEEDED:
[You Must Have Working Knowledge of PSP!]
Paint Shop Pro Vers. 9+
Animation Shop 3
Your tube of choice. Tube(s) used for this particular tutorial is by Elias Chatzoudis. You must have an ELIAS license to use it.
Plug ins
Xenofex 1.1 - Constellation
AAA Filters – Texture
Mura Meister - Copies
(Go to Liberta Designs to search for appropriate filters)
Mask of choice
Fonts of Choice or A&S Snapper Script
SUPPLIES
REMEMBER TO SAVE OFTEN!
This is going to be a pretty quick one...yay!
1. Open up 650 x 250 image white background.
2. Copy and paste your tube as new layer.
3. Effects – Mura Meister Copies – Wallpaper – Default settings (or at least make it in such a way the entire layer is covered with your tube.
4. Duplicate this layer twice for a total of three layers.
5. On original – Effects – Distortion Effects – Pixelate – symmetric checked – set to 30.
6. On next two copies, repeat the same effects, only increasing pixelate numbers by 10.
7. Create new layer. Flood fill with light color from your tube. In my case, I used the pink (#ed5ea1).
8. Effects – AAA Filters – Texture – Default Settings. Double click on layer – change blend mode to soft light.
9. Copy and paste your tube – preferably a close up – move to left side of tag. Change blend mode to soft light. Duplicate and mirror. Merge these two layers together.
10. Choose another color from your tube – for my tag, I used the blue (#0d7fcf). Set to background, make foreground null.
11. Go to rectangle tool and choose rectangle. Draw out rectangle to cover the lower portion of tag (area where text is on tag). Convert to raster. Effects – Texture – Blinds – Width (2) Opacity (50), color (black), both boxes checked.
12. Lower opacity of the layer to about 45. Open up wordart provided and paste as new layer or write up your own text. The pattern provided was set as background and foreground black.
13. Copy and paste your tube again as a new layer, this time move it to the right (see tag for reference). Duplicate – on top layer, Adjust – Blur - Gaussian Blur (4) – change blend mode to soft light. Merge two tube layers together.
14. You should be at the topmost layer at this point. Create new raster layer. Selections – Select All. Modify – Contract by 5. Selections – Modify –Invert.
15. Keep selected and flood fill layer with the pink (or whatever color from your tube). Still keeping selected, apply the blinds effect as used earlier. Apply drop shadow (1,1,50,5) Repeat only changing to (-1) for both. Deselect and duplicate this layer twice for a total of three.
16. Make original ‘frame’ layer active. Go to Effects – Xenofex 1.1 – Constellation – Default Setting.
17. Apply the same effects to the next two frames, simply pushing the random slider to a different position each time.
18. Add your license information and name with the Snapper Script, and you’re ready to animate!
ANIMATION TIME:
1. Open up animation shop.
2. Back in PSP, making sure your top two copies of both the frame and pixelate layers are invisible and only the originals are active, right click, copy merged.
3. Go back to AS, right click and paste as new animation.
4. Back in PSP - close out originals, open up both copy 1 layers.
5. Go back to AS – Edit – Paste After Current Frame.
6. Go back to PSP, close out Copy 1, and open up both copy 2 layers.
7. Go back to AS – Edit – Paste After Current Frame.
8. Edit – Select All. View – View Animation. If satisfied File – Save As and you’re all set!
9. Hope you had fun with this one! ^_^

Please no hotlinking the images! Neither can you use the tags created for your personal use or on blogs or websites without written permission. This tutorial is registered with TWI.
© KiyaSama - all rights preserved. Tutorial Written 20th September, 2010.
Tutorials Home
|
|