
JOYFUL SPRING
SUPPLIES NEEDED:
Tubes of choice – I’m using Dean Yeagle’s pretty tubes courtesy of CDO You must have a license to be able to use these tubes. You’re also welcome to use tubes of your choice.
Fabulous spring scrap kit from the talented Seachell. You can download the freebie kit HERE
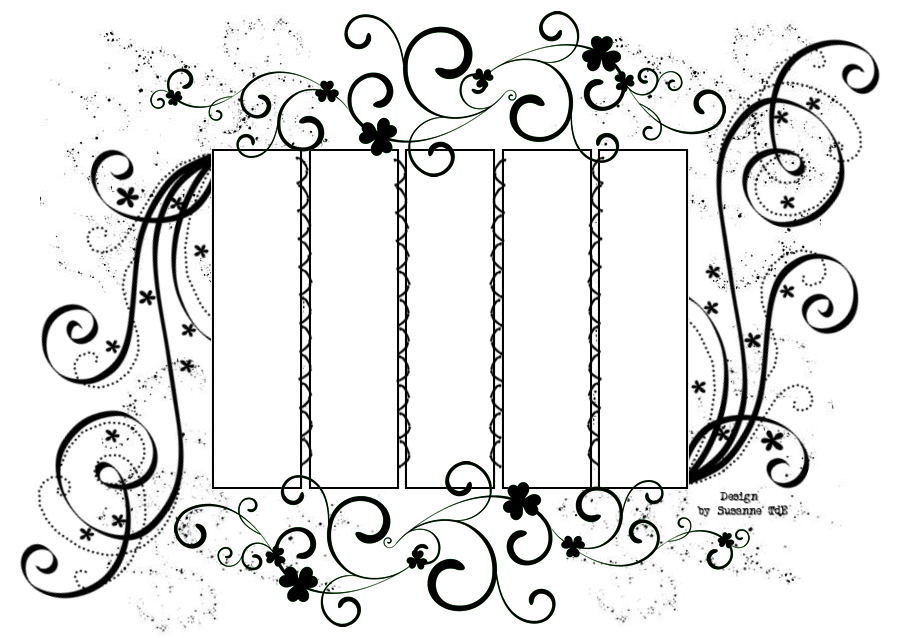
Mask by Susanna – HERE
Word art by me – HERE
Font of choice
1. Open new transparent image – 675 x 500. Flood fill white and merge flatten to form new layer.
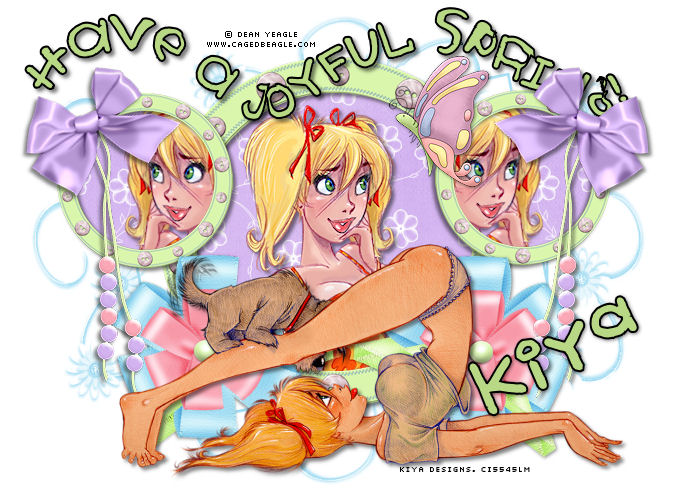
2. From scrapkit, open element 28 – frame with flowers – copy and paste as new layer and resize by 50%. Duplicate this layer and resize duplicate by 50% again.
3. Move duplicated frame to left side and top of original frame – duplicate and move this below second frame – see my tag for reference.
4. Using your magic wand, go to original circle (largest one) layer, click, selections, modify, expand by 16. From scrapkit, open up Paper 4, copy and paste as new layer on image. Selections, invert, delete. Move this paper layer below frame.
5. Go to first small circle layer, magic wand, click, selections, modify, expand by 5. Copy and paste Paper 4 again, selections, invert and delete. Move paper below this frame. Repeat this process for the third small frame.
6. Go back to your largest circle frame, magic wand, selections, modify, and expand by 10. Paste your first tube of choice within the frame. Resize if needed. Selections, invert and delete. Move tube below frame. Add light drop shadow of choice. Using this method, fill in the next two small circle frames with your other tubes (or you can use the same one and just make the image face different directions by going to Image, Mirror). Expand your selections by 5 instead of 10. Also make sure you move tubes beneath frames when done. Add your dropshadow.
7. Add same dropshadow to each of your frame layers. Close out white background and merge visible.
8. Open element 37 – the grass – copy and paste as new layer – resize by 40% - duplicate five times and arrange in a straight line – merge grass layers together (by closing out frame and white bkg and doing a merge visible). Move grass layer below frame and move towards left side of tag. Duplicate this grass layer again – mirror and move it towards the right side of tag. Merge down.
9. Open up elements, 12, 13, 14 – these are the tulips – paste as new layers on the tag and resize by 40%, 40%, 50% according – rearrange them beneath the grass layer, so it would look as if they’re peeking from behind the grass. Merge the flowers layers together and add light dropshadow.
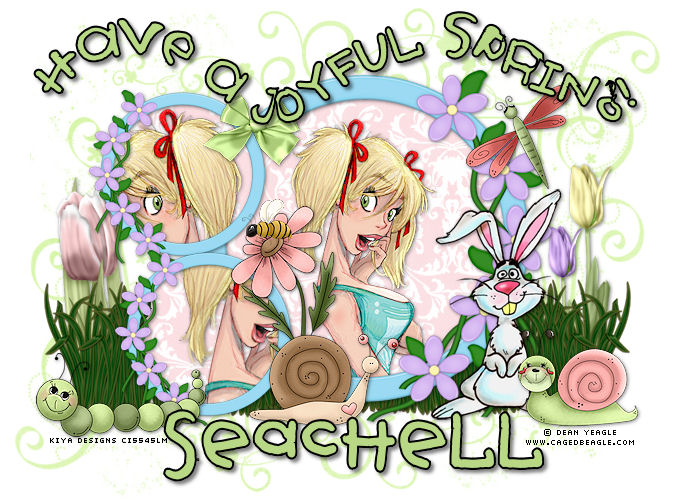
10. Okay, now here’s the part when you’re free to go crazy with the elements. I usually just advice folks to pick what they like and go with it, making sure you resize appropriately so it all fits on the tag. You’re welcome to use mine as a reference. (Bunny tube is also by Yeagle, and wasn’t part of the elements in the kit).
11. Once satisfied with element placements, pick Paper #1 and place as new layer over white background.
12. Open mask and apply – layers, new mask layer, from image and choose the appropriate one from the drop down menu. Source luminance and invert source data selected. Apply, delete and ungroup layers. Duplicate mask layer if needed (I did, since mine was too light)
13. Add your artist, copyright and license info. Copy and paste word art as new layer and place at top of tag. For the name, on new layer, I used the font, FBPunkypie – foreground black, background, a light color from tag, stroke width 2.0.
14. Merge flatten once done and you’re all set! Hope you enjoyed the tutorial. ^_^
Please no hotlinking the images! Neither can you use the tags created for your personal use or on blogs or websites without written permission. Tutorial has been registered under TW1.
© KiyaSama - all rights preserved. Tutorial Written 24th March, 2009.
Tutorials Home
|
|